Basic Triangle Rasterization
1. Walk through how you rasterize triangles in your own words.
The original input parameters, (x0, y0), (x1, y1) and (x2, y2), represent coordinates that define a triangle. I first calculated the min and max values for X and Y to ensure that I only considered pixels that could possibly belong to this triangle.
This prevents us from having to iterate over the whole screen. For each pixel within this sampling box, I checked whether the center point (x+0.5, y+0.5) lies inside the triangle. If it is, the pixel is covered by the triangle and I fill it.
To check whether or not the point is in the triangle, I used the edge function that we learned in class. For each triangle edge, take the cross product of the edge vector AB = B - A and the vector from the same vertex to our sample point AP.
If all cross products are non-negative, the sample point is inside the triangle (including the edge itself). If the sample point is inside, I set the pixel to the color of the triangle.
2. Explain how your algorithm is no worse than one that checks each sample within the bounding box of the triangle. The bounding box of the triangle is defined as the smallest rectangle that can be drawn whilst ensuring that the entire triangle is within it.
Each pixel in the bounding box is tested exactly once, at its center. This is a simple rule that determines whether a pixel should be drawn or not, and it’s efficient because we don’t waste resources by checking pixels outside the triangle’s bounding box (determined by taking the min/max values along both axes).
We are avoiding a brute-force approach that would look at the entire image.
1. Walk through your supersampling algorithm and data structures. Why is supersampling useful? Explain how you used supersampling to antialias your triangles.
Supersampling is useful because it helps improve the quality of images by smoothing out “jaggies” that appear when we rasterize diagonals or curved shapes. It works by first dividing each pixel into multiple smaller subpixel samples. Then, I tested the coverage of each subpixel sample (i.e. does it lie inside or outside the shape?). Finally, I accumulated all subpixel colors and averaged them to form the final color of the pixel. This produces smoother, antialiased edges because pixels partially covered by the shape will be colored with a lighter shade of the shape color.
Key Data Structures:
2. What modifications did you make to the rasterization pipeline in the process?
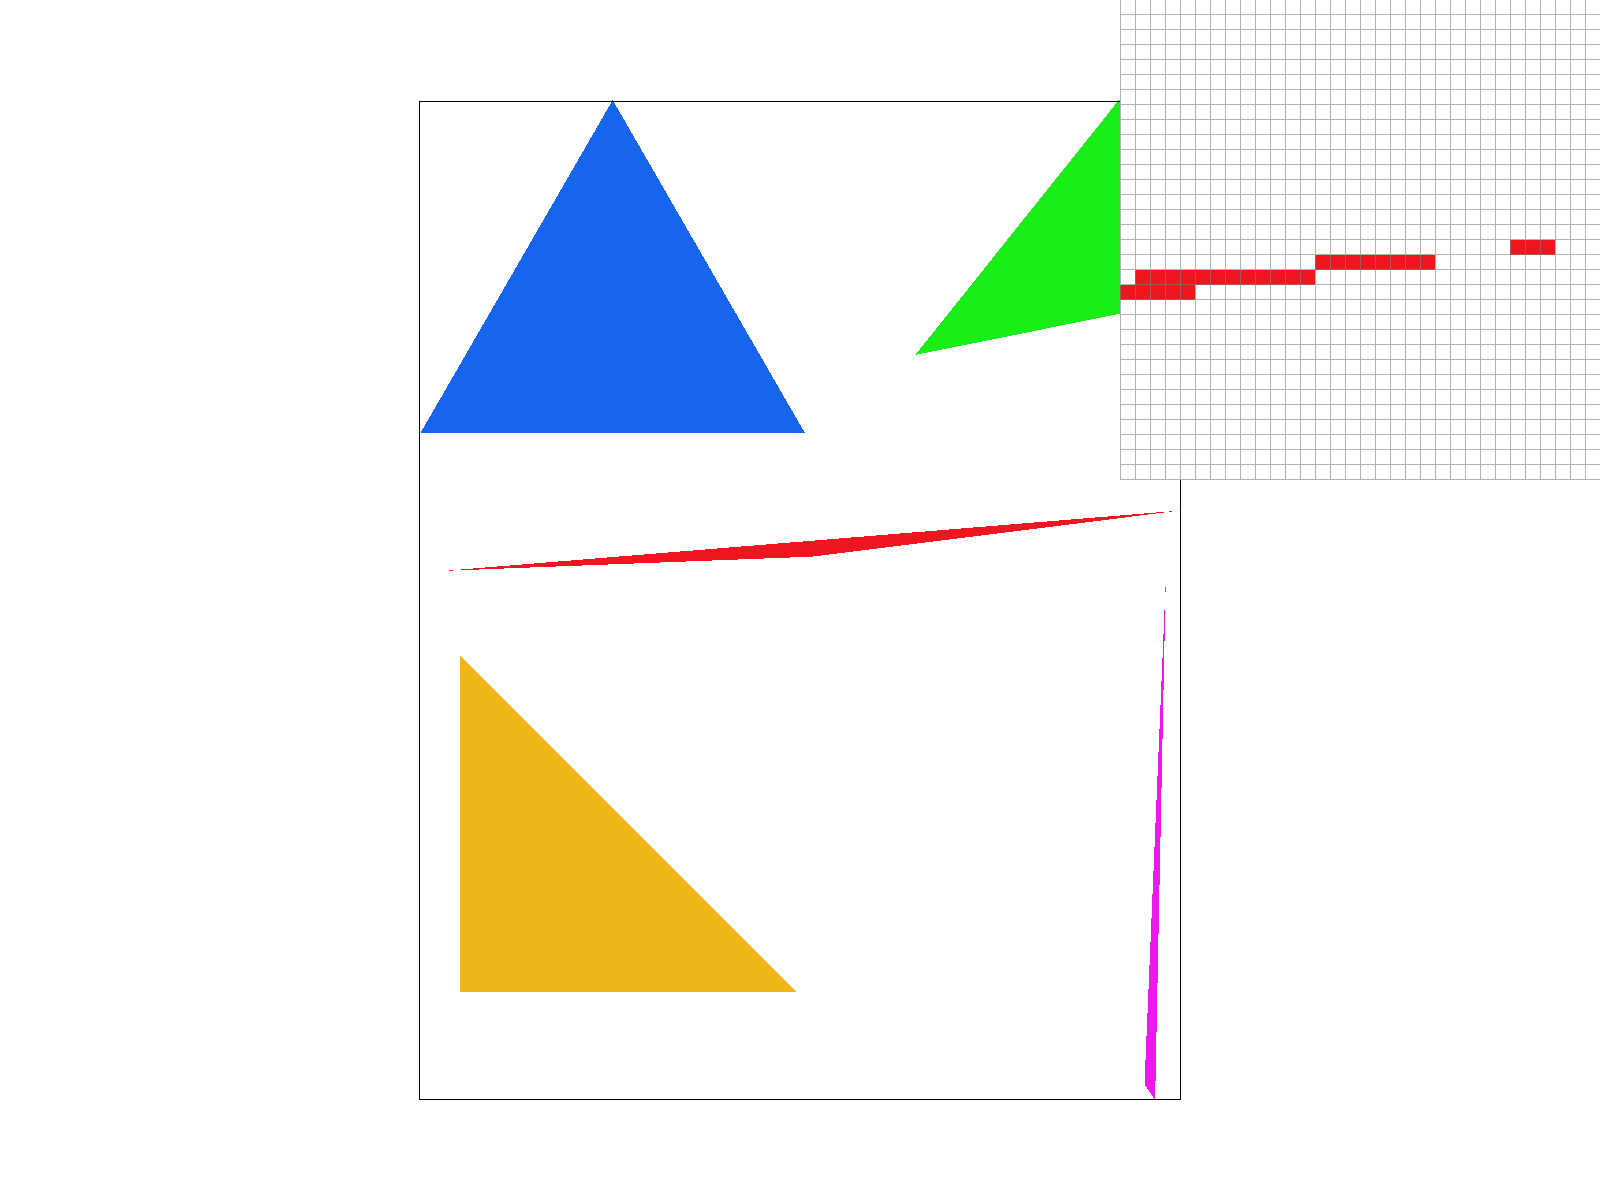
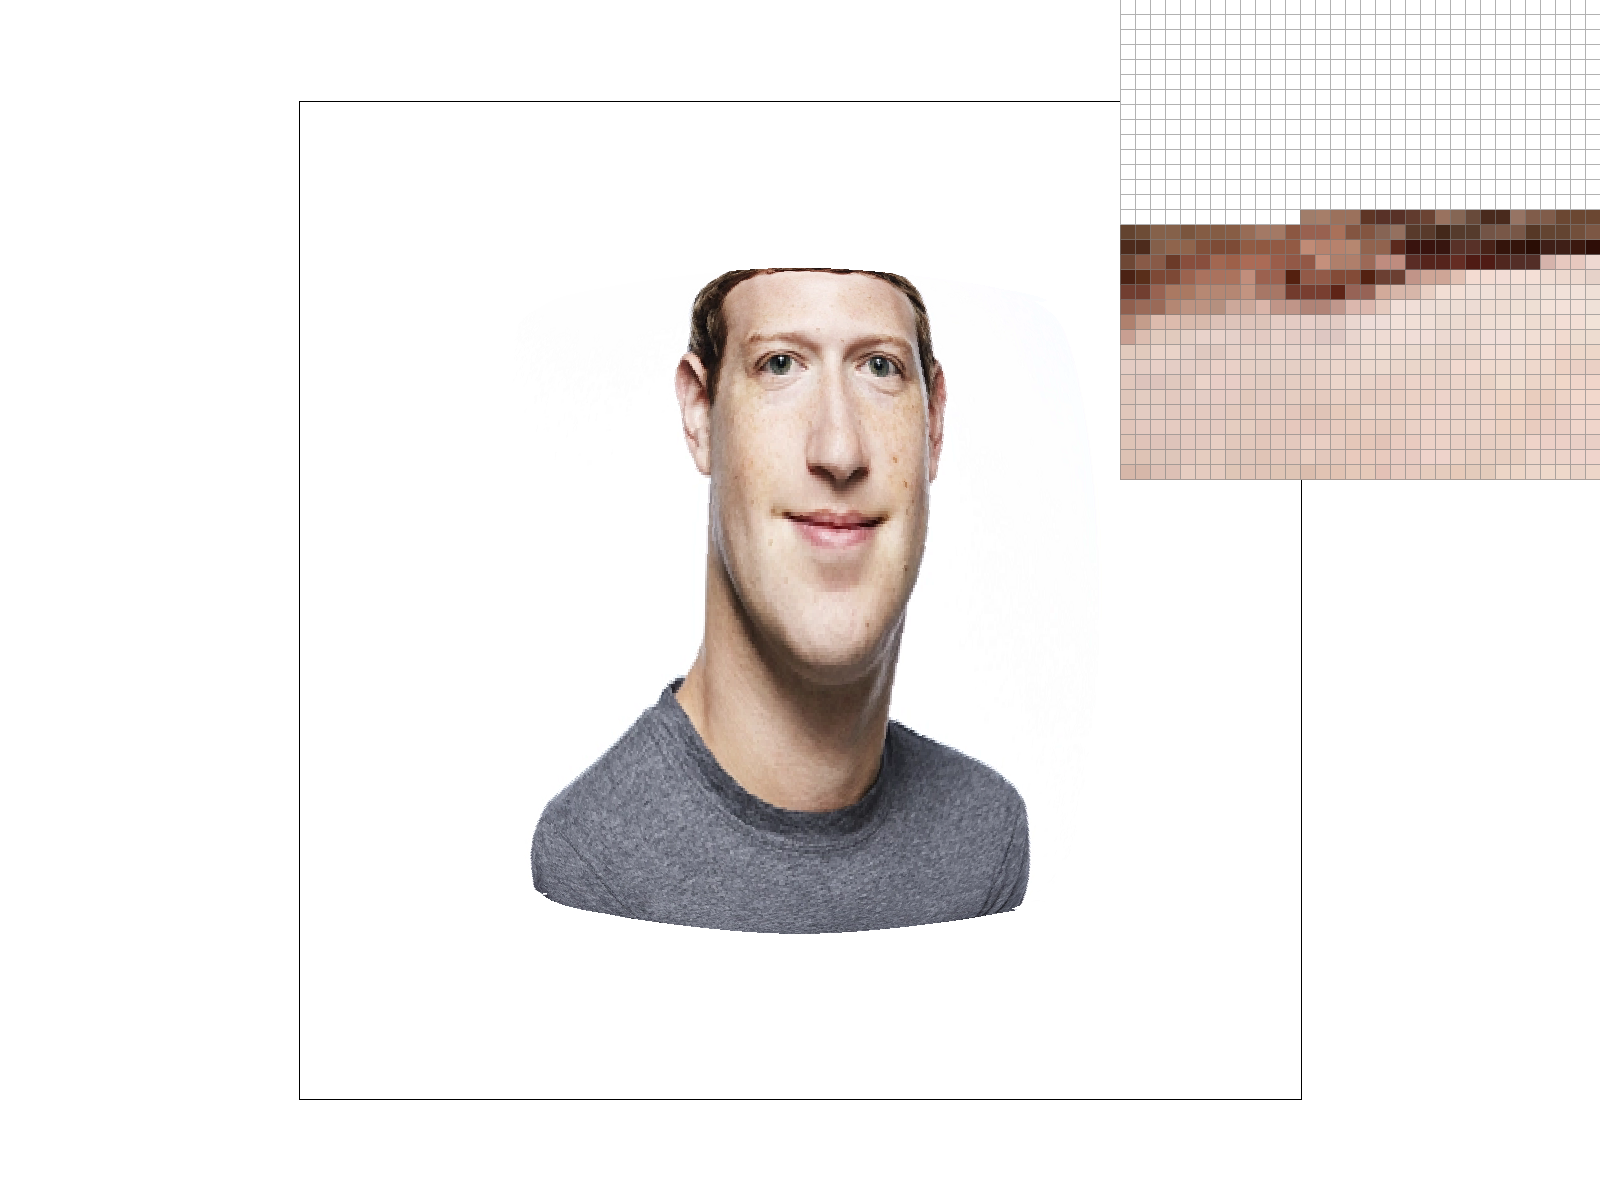
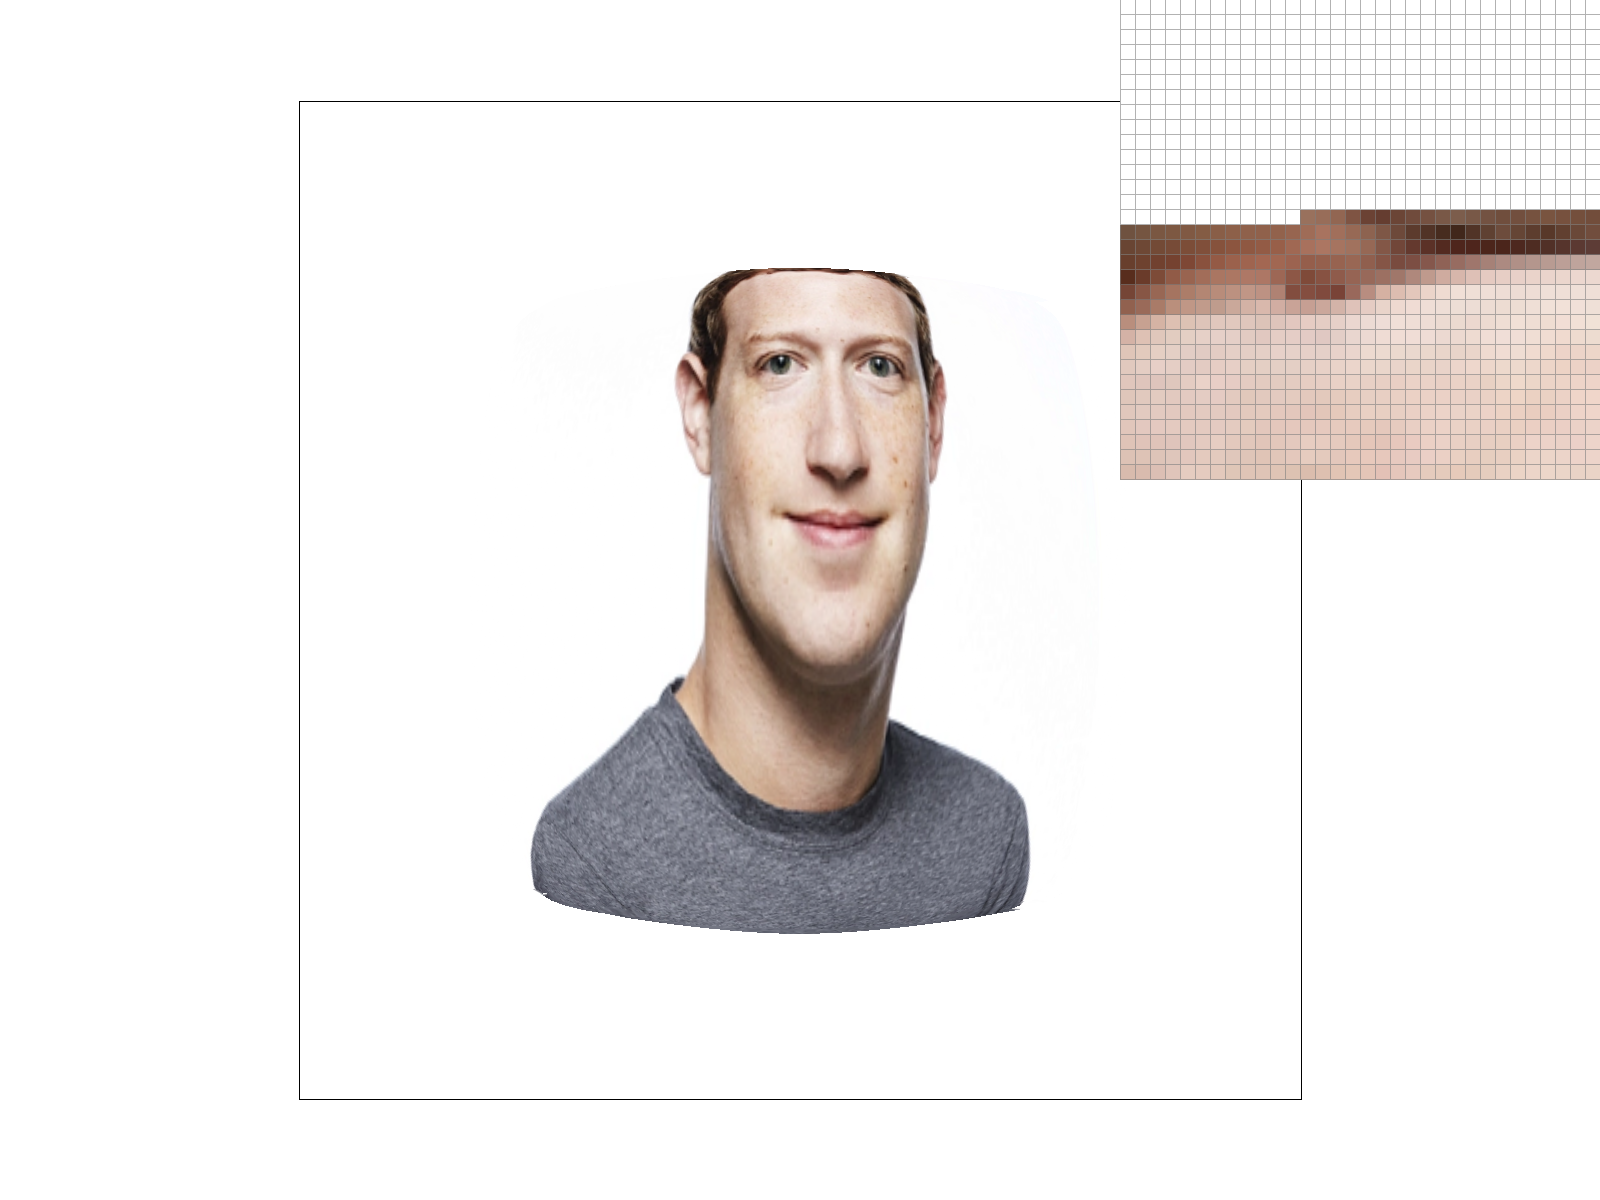
At sample_rate = 1 (no supersampling), the edges appear extremely jagged and there are even gaps between the red pixels where the triangle should normally be. We can even notice jaggies in the original viewpoint, not just from the pixel inspector. This is because each pixel is binary (fully covered or not).

At sample_rate = 4, we do not see any of the gaps from sample rate 1 in the pixel inspector, and there is some blur/smoothness. This is because taking 4 samples allows us to have gradients/shades.

At sample_rate = 16, the blur is much more gradual/spread out. At sample_rate = 4, only one pixel was used to show the lightest, non-white pixel, but at sample_rate = 16, three pixels were used. In other words, with 16 samples, pixels are more likely to take on intermediate values/shades.
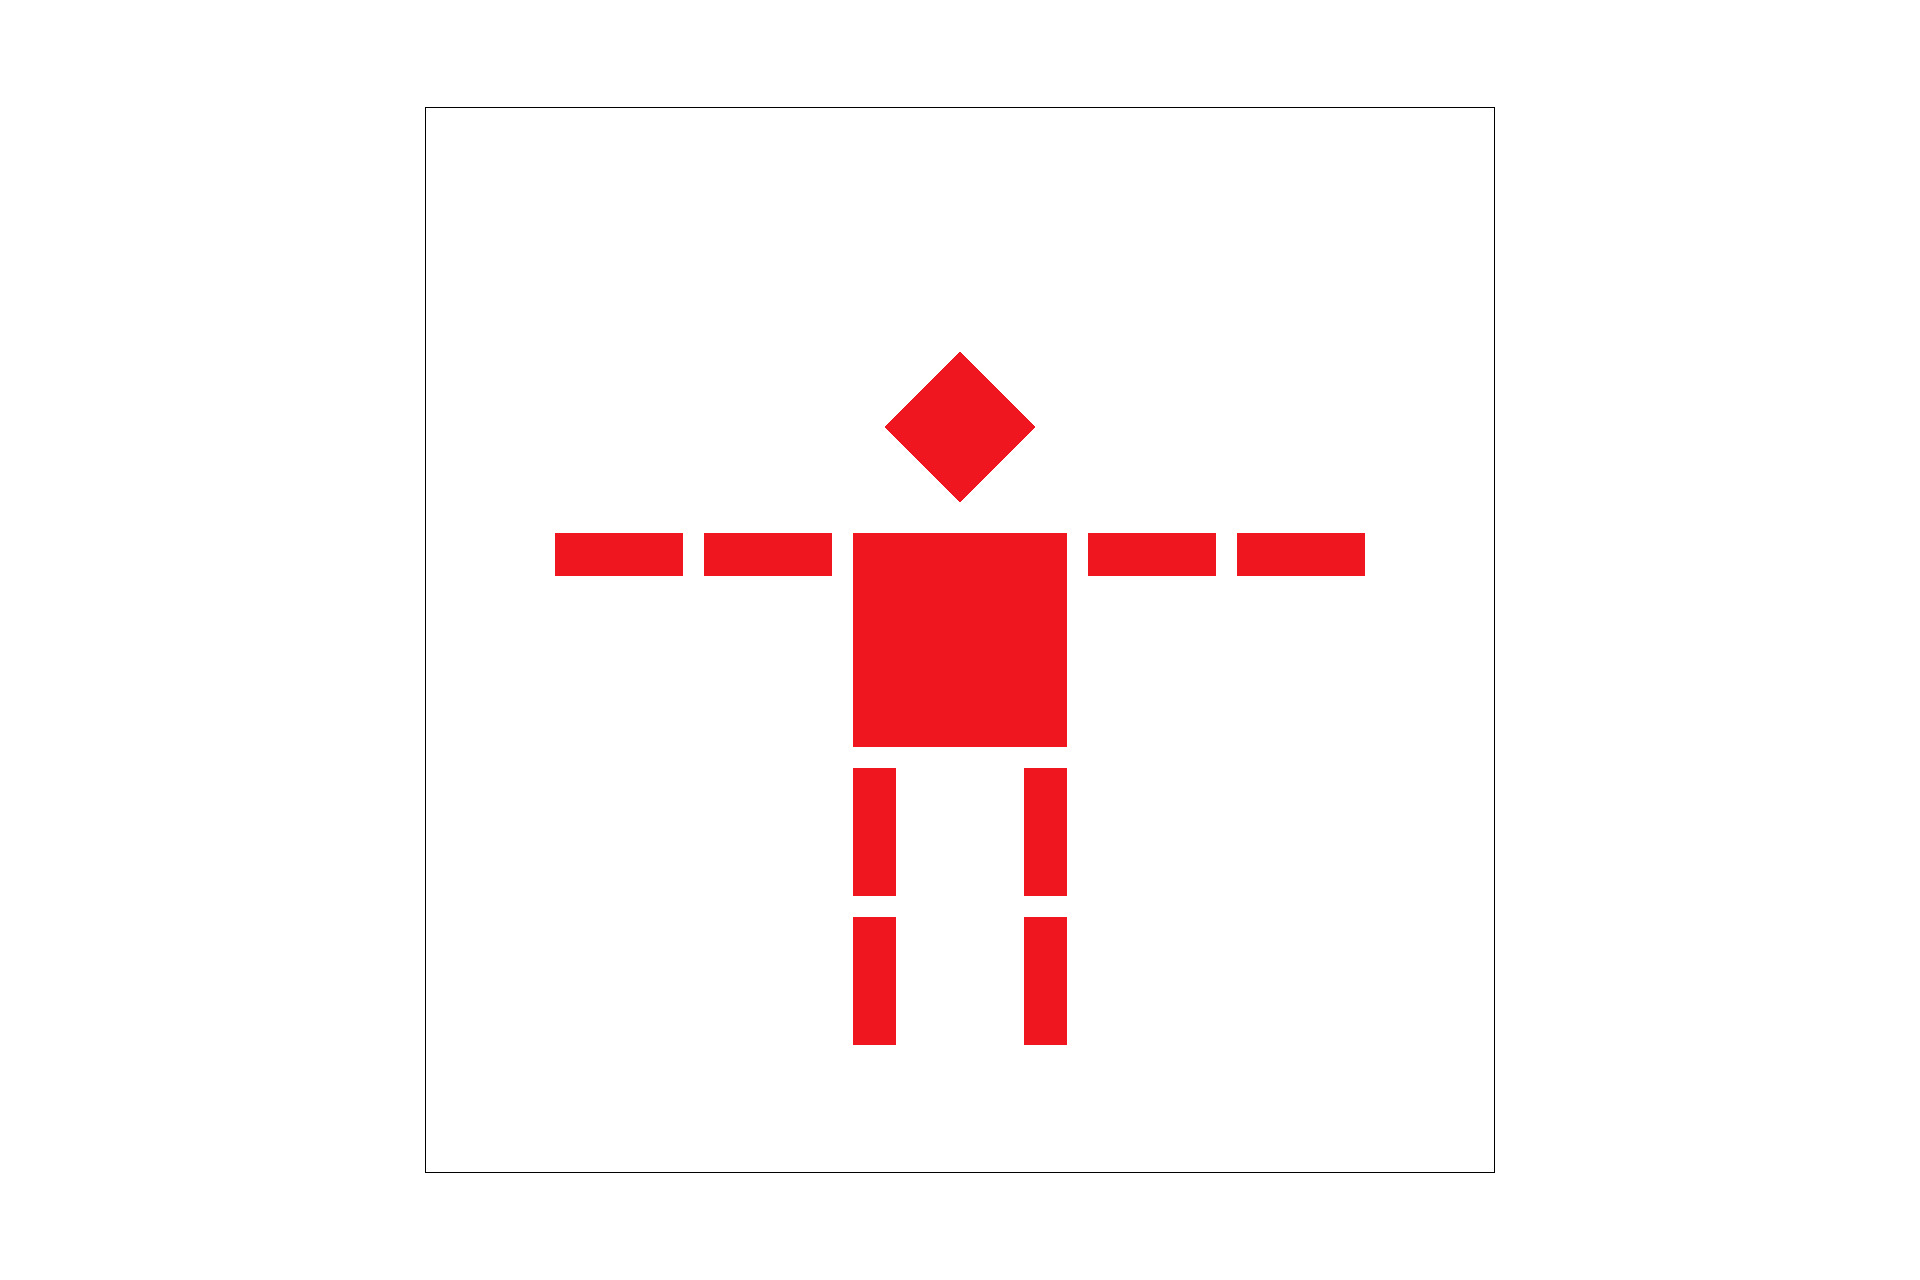
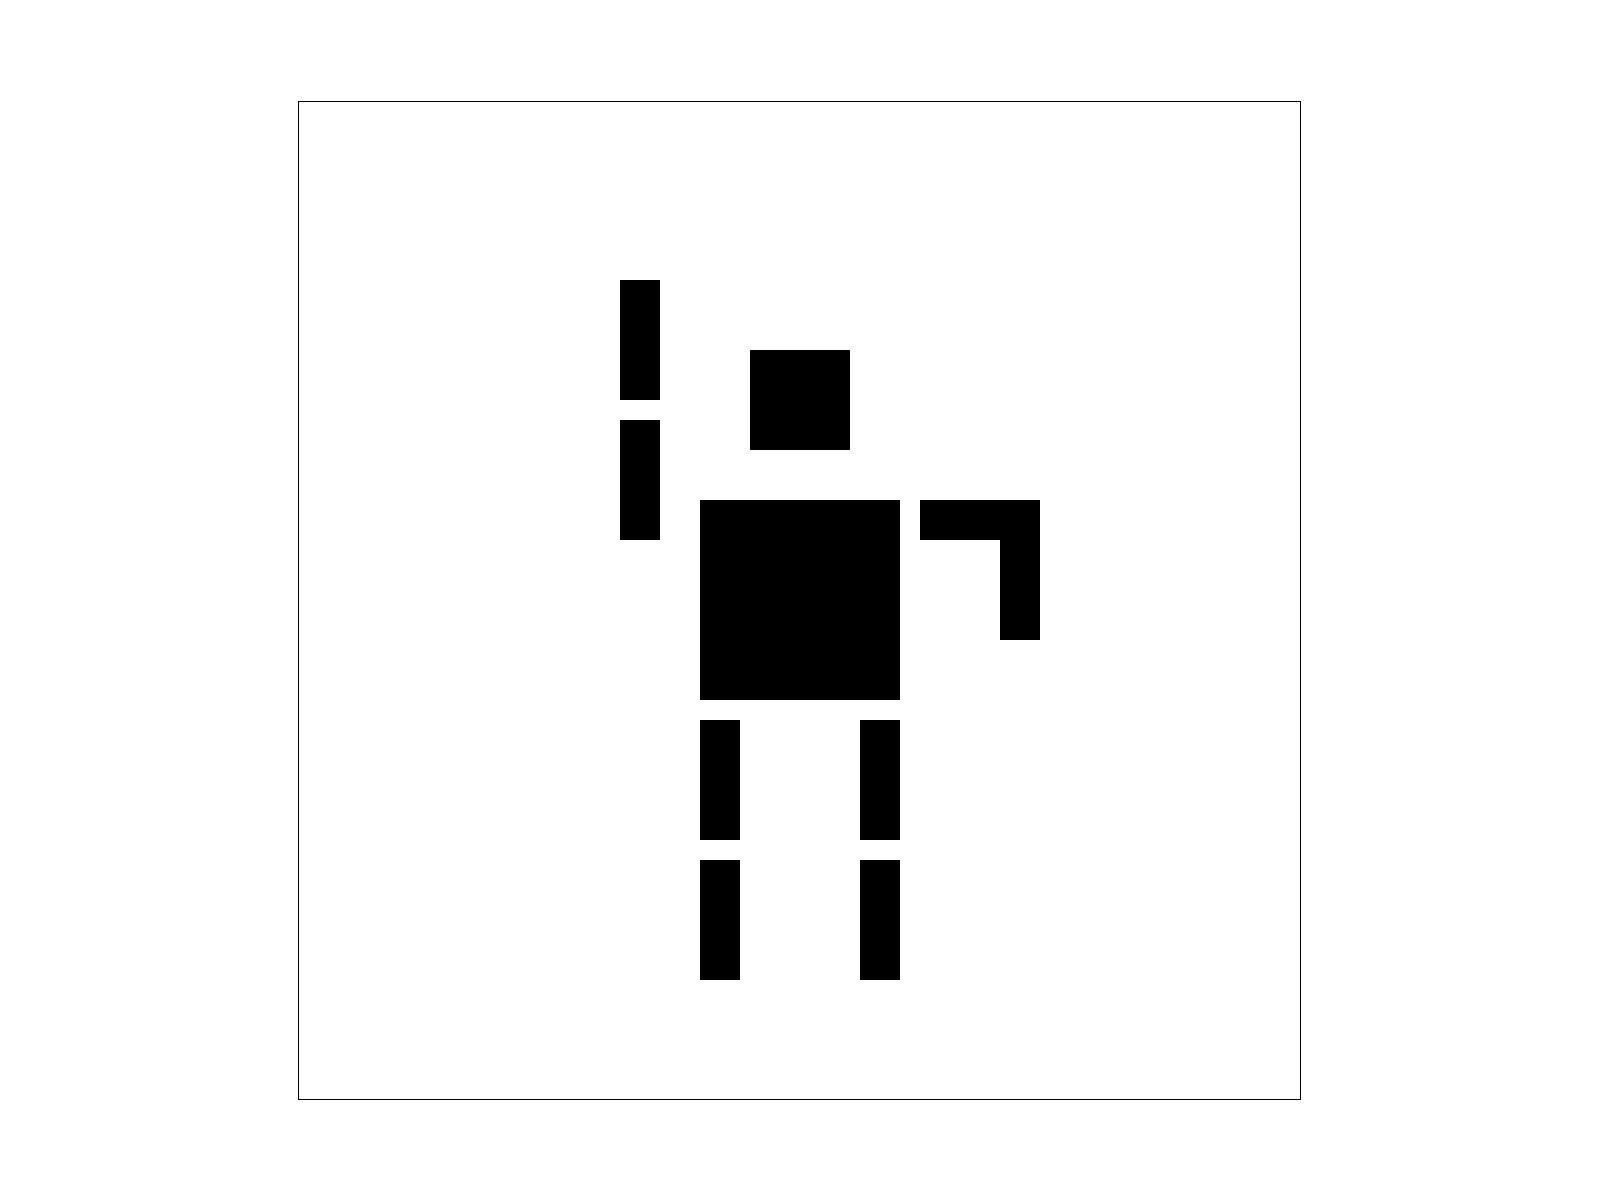
To create this ride-hailing robot, I tried playing with four things:
Explain barycentric coordinates in your own words and use an image to aid you in your explanation.
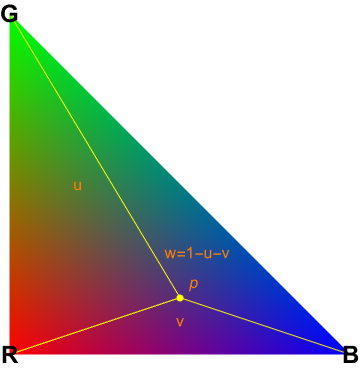
In a triangle with vertices (v0, v1, and v2), we can express any point p inside the triangle as a weighted combination of the vertices. In other words, p = a*v0 + b*v1 + c*v2. The weights a, b, and c must add up to 1, and they must be greater than or equal to zero. These weights are the barycentric coordinates of p relative to the triangle. To interpolate colors, we do the same idea but in color space. This actually makes a lot of sense given that we have three axes in color (RGB) and a triangle has three vertices. Color(p)=αColor(v0)+βColor(v1)+γColor(v2). And Color(v_i) is the color value we assign to vertex i. As p moves around inside the triangle, the barycentric coordinates change, blending the colors.
1. Explain pixel sampling in your own words and describe how you implemented it to perform texture mapping.
Pixel sampling determines how textures map onto surfaces during rendering. When a texture is applied to a 3D surface, each pixel on the screen corresponds to a portion of the texture image. Since the texture’s resolution usually does not match with the screen’s, we have to interpolate colors from nearby texels.
2. Briefly discuss the two different pixel sampling methods, nearest and bilinear.
There are two sampling methods, nearest neighbors and bilinear. Nearest neighbors selects the closest single texel to the sampled texture coordinate. First, I ensured that the UV coordinates stay within [0, 1] by setting up the min/max boundaries. Then, I scaled the UVs to texture dimensions and rounded it to the nearest integer values. Finally, I checked the bounds to prevent accessing texture that is out of bounds. The bilinear approach, on the other hand, blends 4 nearest texels using distance-based weights. First, I found the fractional position between texels, and sampled the 4 nearest texel centers. Then I calculated the weighted average based on the positions of each sub-texel, interpolating the values. Nearest neighbors preserved the sharp jaggies, but bilinear sampling showed blur.
Sharp edges with visible aliasing
Reduced noise but still jagged
Smoother edges despite low samples

Optimal quality with smooth gradients
I noticed the biggest relative difference between nearest/bilinear at 1 sample per pixel. Sharp edges showed major aliasing with the nearest neighbors approach, but the bilinear approach hid the jaggies (texels had smoother transition). At 16 samples per pixel, the noise was too removed to notice any significant difference between nearest/bilinear.
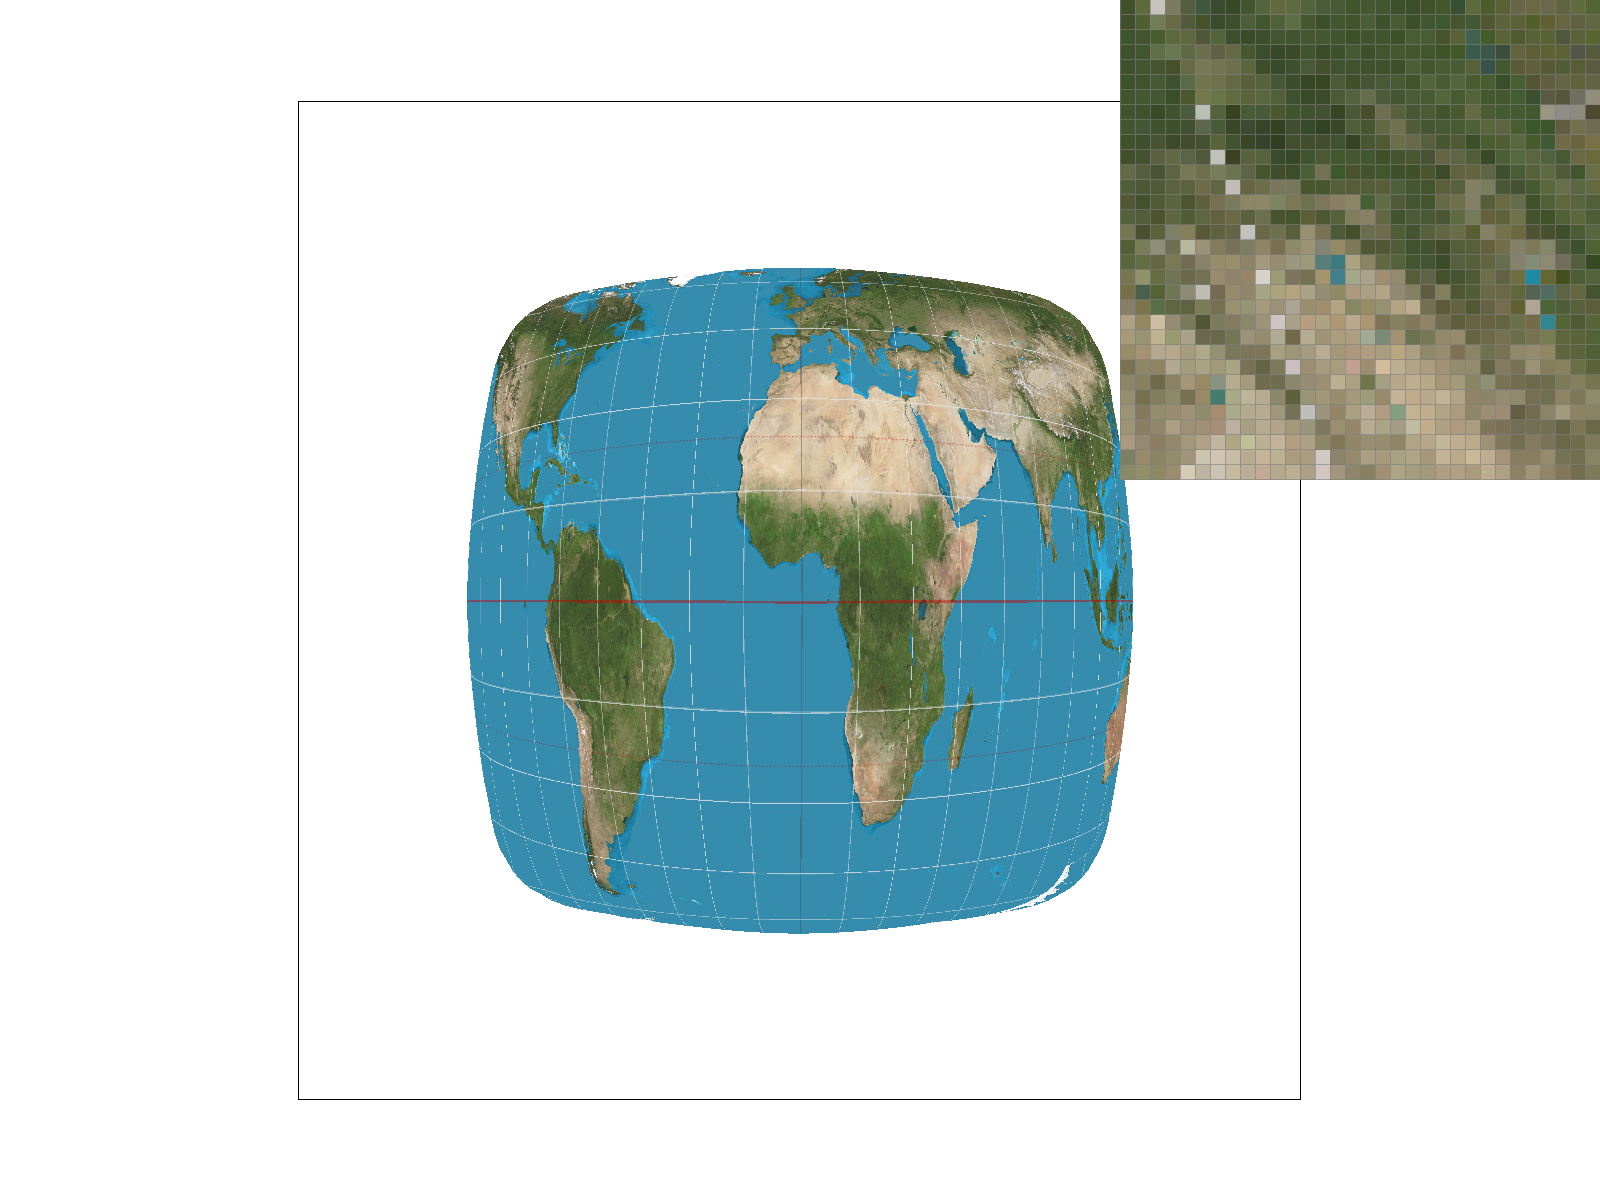
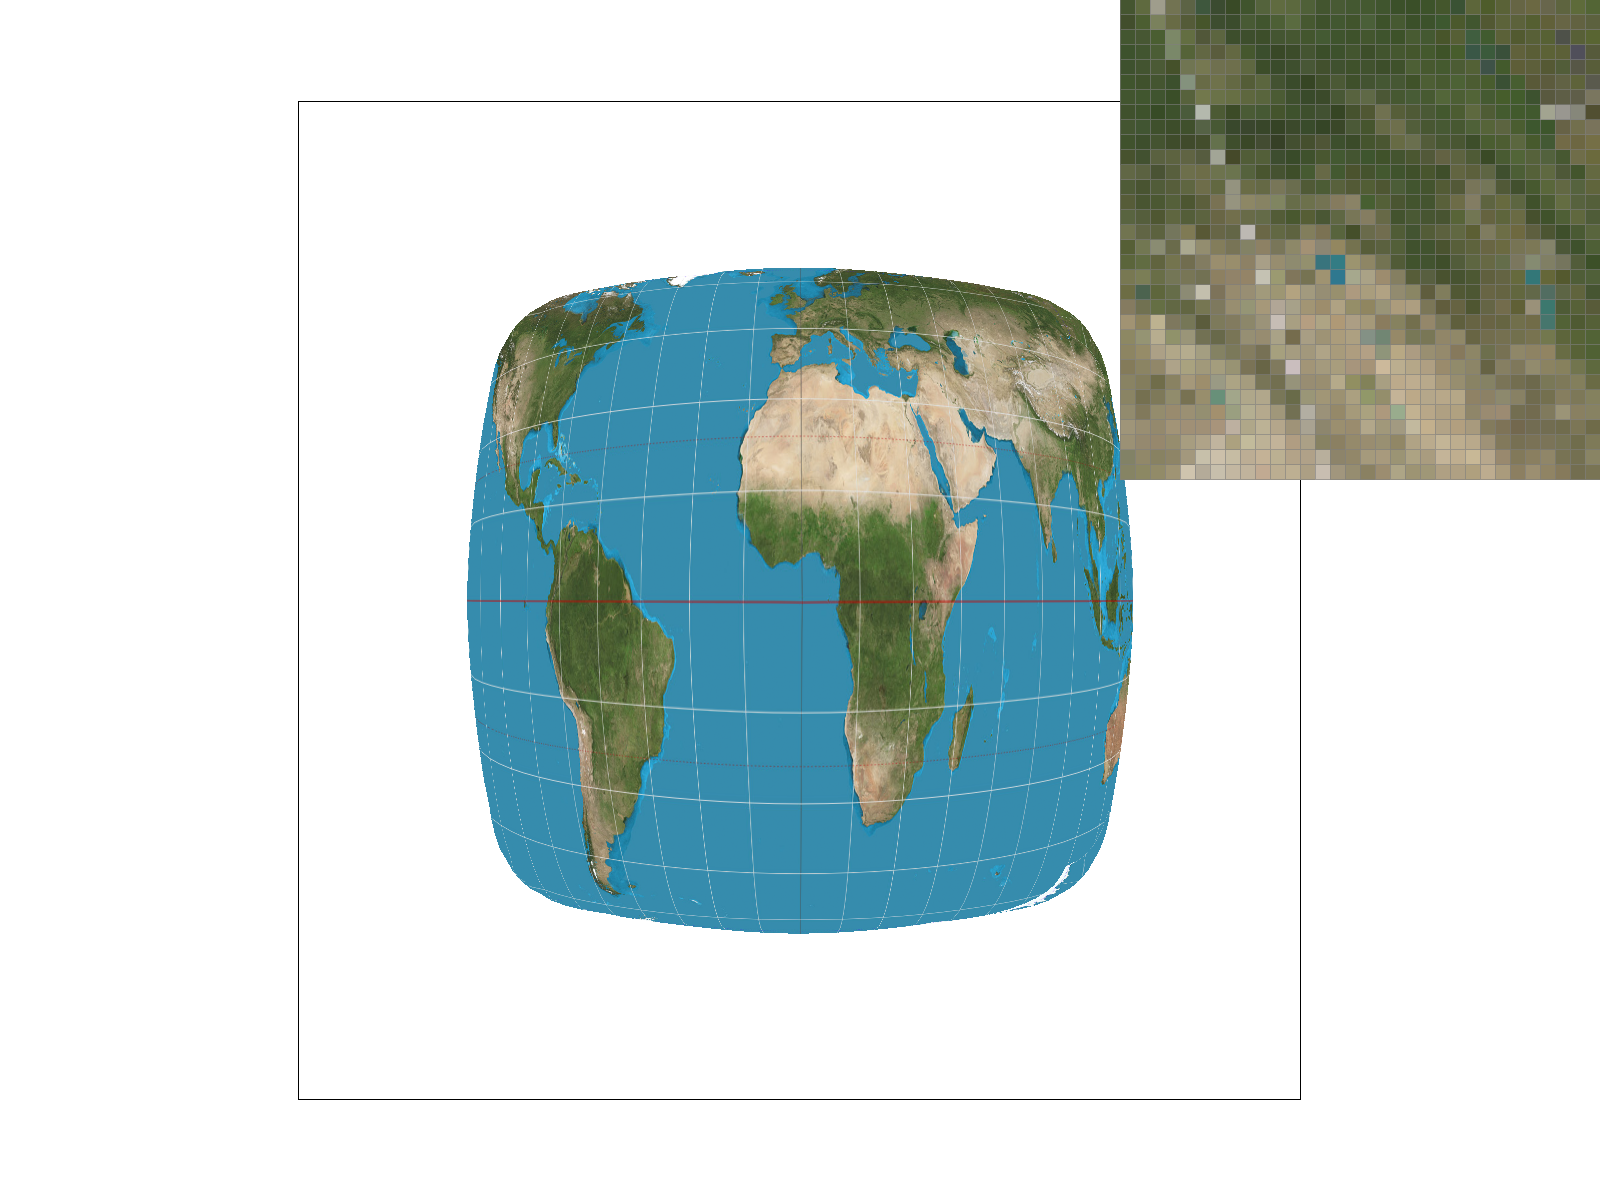
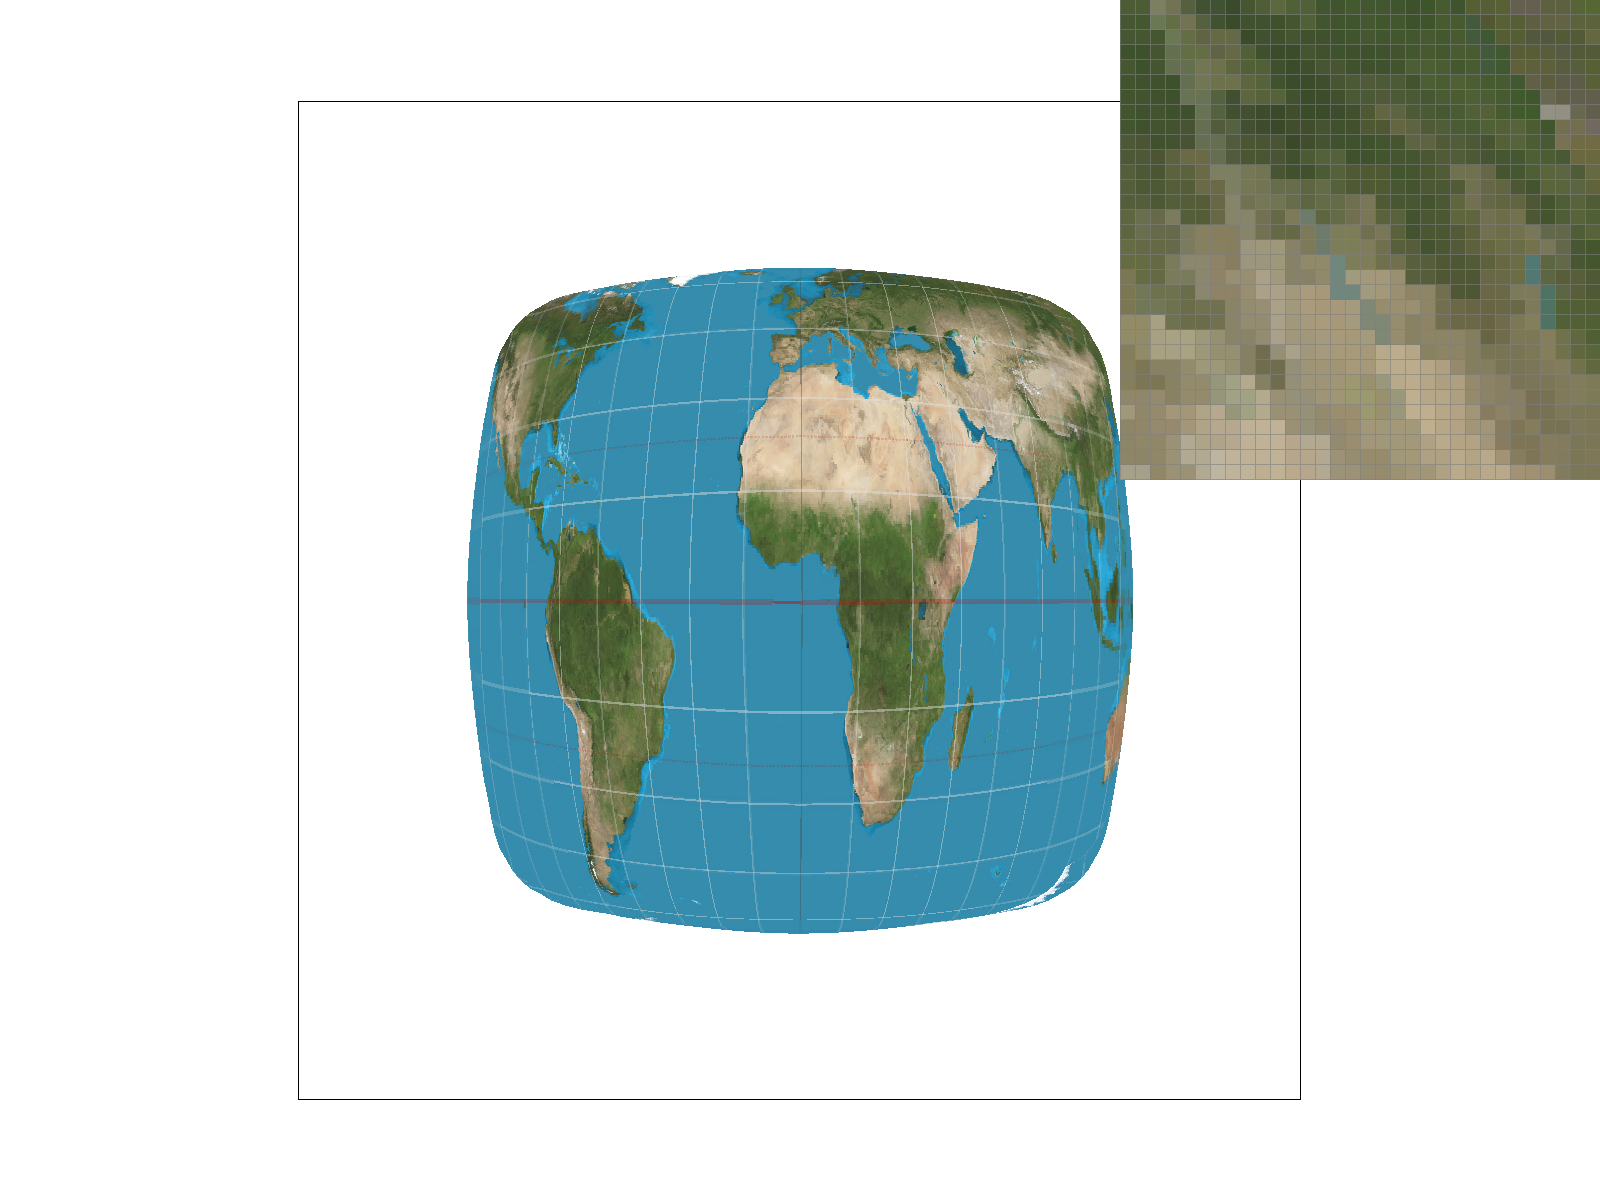
1. Explain level sampling in your own words and describe how you implemented it for texture mapping.
Level sampling selects the appropriate mipmap level for texture mapping based on the distance and angle of the surface relative to the viewer. During rasterization, I calculated the UV coordinates for each sample point through barycentric interpolation. I also computed partial derivatives by examining the neighboring pixels. These derivatives showed how quickly UV coordinates change across the texture space, which allows me to determine the appropriate mipmap level for sampling. My implementation has three sampling methods:
2. You can now adjust your sampling technique by selecting pixel sampling, level sampling, or the number of samples per pixel. Describe the tradeoffs between speed, memory usage, and antialiasing power between the three various techniques.
Combining high sample rates with trilinear filtering (P_LINEAR + L_LINEAR) achieves the highest visual quality but demands significant compute and memory. On the other hand, (P_NEAREST + L_ZERO) maximizes performance by accessing memory in more simple patterns, but will result in aliasing.